
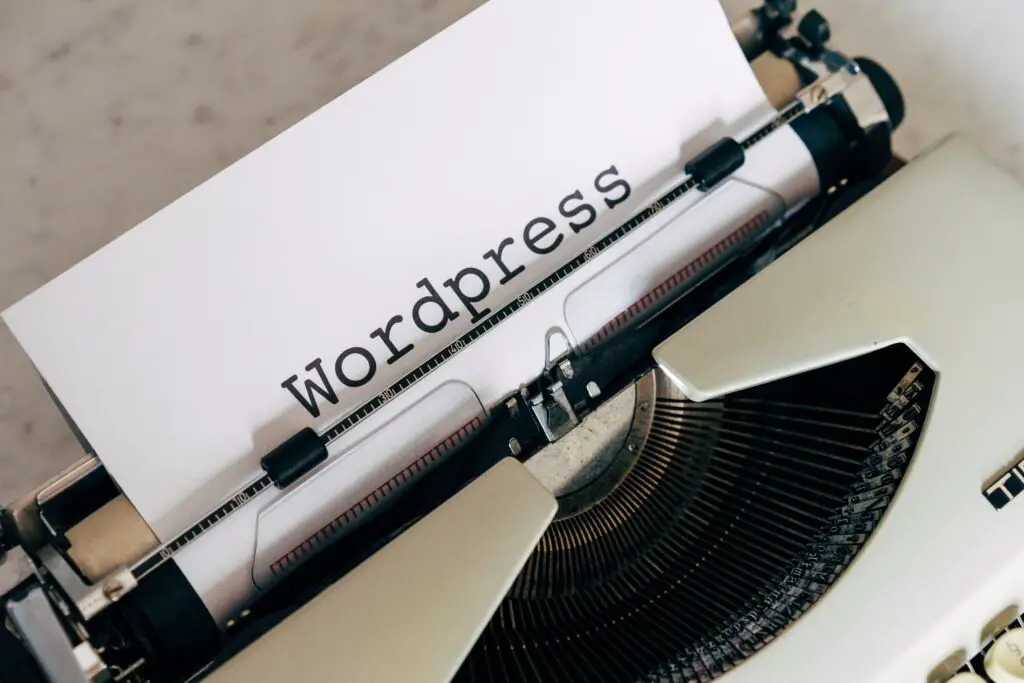
WordPress is a great platform for creating and managing websites. One of the things that makes it so user-friendly is that it offers a wide range of options for customizing your site. This includes the ability to change the headings on your pages. In this article, we’ll show you how to edit headings in WordPress so that you can make your site look exactly the way you want it to!
How to edit head in wordpress
If you want to change the head element in WordPress, you need to access the header.php file in your theme. You can do this by going to Appearance > Editor in your WordPress dashboard.
Once you’re in the editor, locate the header.php file on the right-hand side. Click on it to open it up.

In the header.php file, you’ll see the head element at the top of the file. You can make changes to this element as you see fit. Be sure to save your changes before exiting the editor.
Different ways to edit head in wordpress
There are many ways to edit the head in wordpress. You can use a plugin like Headspace2 or you can edit the code directly.
Why you should edit your head in wordpress
If you’re a WordPress user, then you know how important it is to keep your site up-to-date. One way to do this is by editing your head in WordPress. This may sound like a daunting task, but it’s actually quite easy to do.
There are a few reasons why you should edit your head in WordPress. First, it helps to keep your site looking fresh and modern. Second, it can improve your site’s performance. And third, it can make sure that your site is compatible with the latest web standards.
So how do you edit your head in WordPress? It’s actually quite simple. Just follow these steps:
1. Login to your WordPress site and go to the Dashboard.
2. In the Dashboard, go to Appearance > Editor.
3. On the right hand side, you will see a list of files that make up your theme. Find the file named “header.php” and click on it.
4. Now you will see the code that makes up your header.php file. Look for the tag and edit it according to your needs.
5. Once you’re done editing, click on the “Update File”.
How to make sure your edited head looks good in wordpress
One of the most important aspects of creating a website is making sure that the head looks good. This can be easily accomplished in WordPress by following these simple steps:
1) In the WordPress admin panel, click on the “Appearance” link and then select “Editor” from the drop-down menu.
2) On the right hand side of the screen, you will see a list of files that make up your theme. Locate the file named “header.php” and click on it to open it in the editor.
3) Find the line of code that begins with “
How to edit your WordPress header
One of the most basic things you can do to customize your WordPress site is to edit the header. The header is the top area of your site, and usually contains the site title or logo, as well as some other important information like the navigation menu.
To edit the header in WordPress, you need to login to your admin dashboard and go to the Appearance > Header section. Here you will be able to upload a new header image, or edit the existing one. You can also add text to your header, or change the color scheme. If you want to really get creative, you can even add a video header!
Once you have made your changes, be sure to click on the “Save Changes” button at the bottom of the page. Your new header will now be live on your WordPress site.
How to change your WordPress header image
If you want to change the header image on your WordPress site, there are a few different ways you can do it. In this blog post, we’ll show you how to change your WordPress header image using the Customizer and the theme’s own settings. Read on to learn more!
The easiest way to change your header image is through the Customizer. To access the Customizer, go to your WordPress dashboard and click on “Customize” in the left-hand sidebar.
Once you’re in the Customizer, click on the “Header Image” tab. From here, you can upload a new image or choose one from your media library. Once you’ve selected an image, you can crop it or adjust its size to fit your needs.
If your theme doesn’t have a built-in option for changing the header image, you can still add one yourself. First, create a new image that is the same width as your current header image and upload it to your media library. Then, open up your theme’s “header.php” file and find the code that displays the current header image. Replace that code with your new image’s URL.
How to add a logo to your WordPress header
If you want to add a logo to your WordPress header, there are a few different ways that you can do it. One way is to use a plugin like Header Image Plus. With this plugin, you can upload your logo to the WordPress Customizer and then add it to your header.
Another way to add a logo to your WordPress header is by using a theme that supports custom headers. If your theme does not support custom headers, you can still add a logo to your header by editing the code of your theme.
If you’re not comfortable editing code, then the best way to add a logo to your WordPress header is by using a plugin like Header Image Plus. This plugin will allow you to upload your logo and then add it to your header via the WordPress Customizer.
Conclusion
There you have it! Three different ways on how to edit head in WordPress. Whether you want to make a simple change or complete overhaul, these methods should help get the job done. Do you have any other tips on editing head in WordPress? Share them with us in the comments section below!